Guides
Send Datadog Logs to S3
The Datadog agent makes it easy to collect logs from containerized environments like Kubernetes. In addition, Datadog's log manager is a powerful platform for log management. However, many users like to archive full fidelity logs in S3 in order to create a telemetry data lake. This is useful for various reasons including compliance, auditing, and integrating with warehouses for drill down analysis during post incidence response.
This is a quickstart guide to routing logs from the Datadog Agent to S3 with Streamfold. In this guide you'll connect the Datadog agent to Streamfold, create an S3 bucket for your full fidelity logs, and build a stream to route your logs to S3.
Create a Datadog Source
In Streamfold, navigate to the Source > Add Source page and select the Datadog Agent source. Pick a name for your Datadog Agent source and grab your Streamfold Ingress API Token.
Configure Datadog Agent to Forward Logs to Streamfold
If your Datadog Agents aren't configured to collect logs you'll need to update them to do so. In this guide we're going to use environment variables to configure the agent.
To get the agent to collect logs and forward to Streamfold let's set the following environment variables for our Datadog Agent
  - name: DD_LOGS_CONFIG_LOGS_DD_URL
    value: "ingress.streamfold.com:443"
  - name: DD_LOGS_CONFIG_API_KEY
    value: "<sf-ingress-token>"
  - name: DD_LOGS_CONFIG_USE_HTTP
    value: "true"
If you need them, the full configuration instructions for getting your Datadog Agent to send to Streamfold can be found here Sources > Datadog Agent > Configuration
Additionally, we're collecting logs from a containerized environment on Kubernetes, so we'll need to add the following additional environment variables and restart our Datadog agents.
  - name: DD_LOGS_CONFIG_CONTAINER_COLLECT_ALL
    value: "true"
  - name: DD_LOGS_CONFIG_K8S_CONTAINER_USE_FILE # required if running in an unprivileged installation
    value: "true"
Now verify your receiving logs by sampling your Datadog Source in Streamfold and look for samples with the L icon. 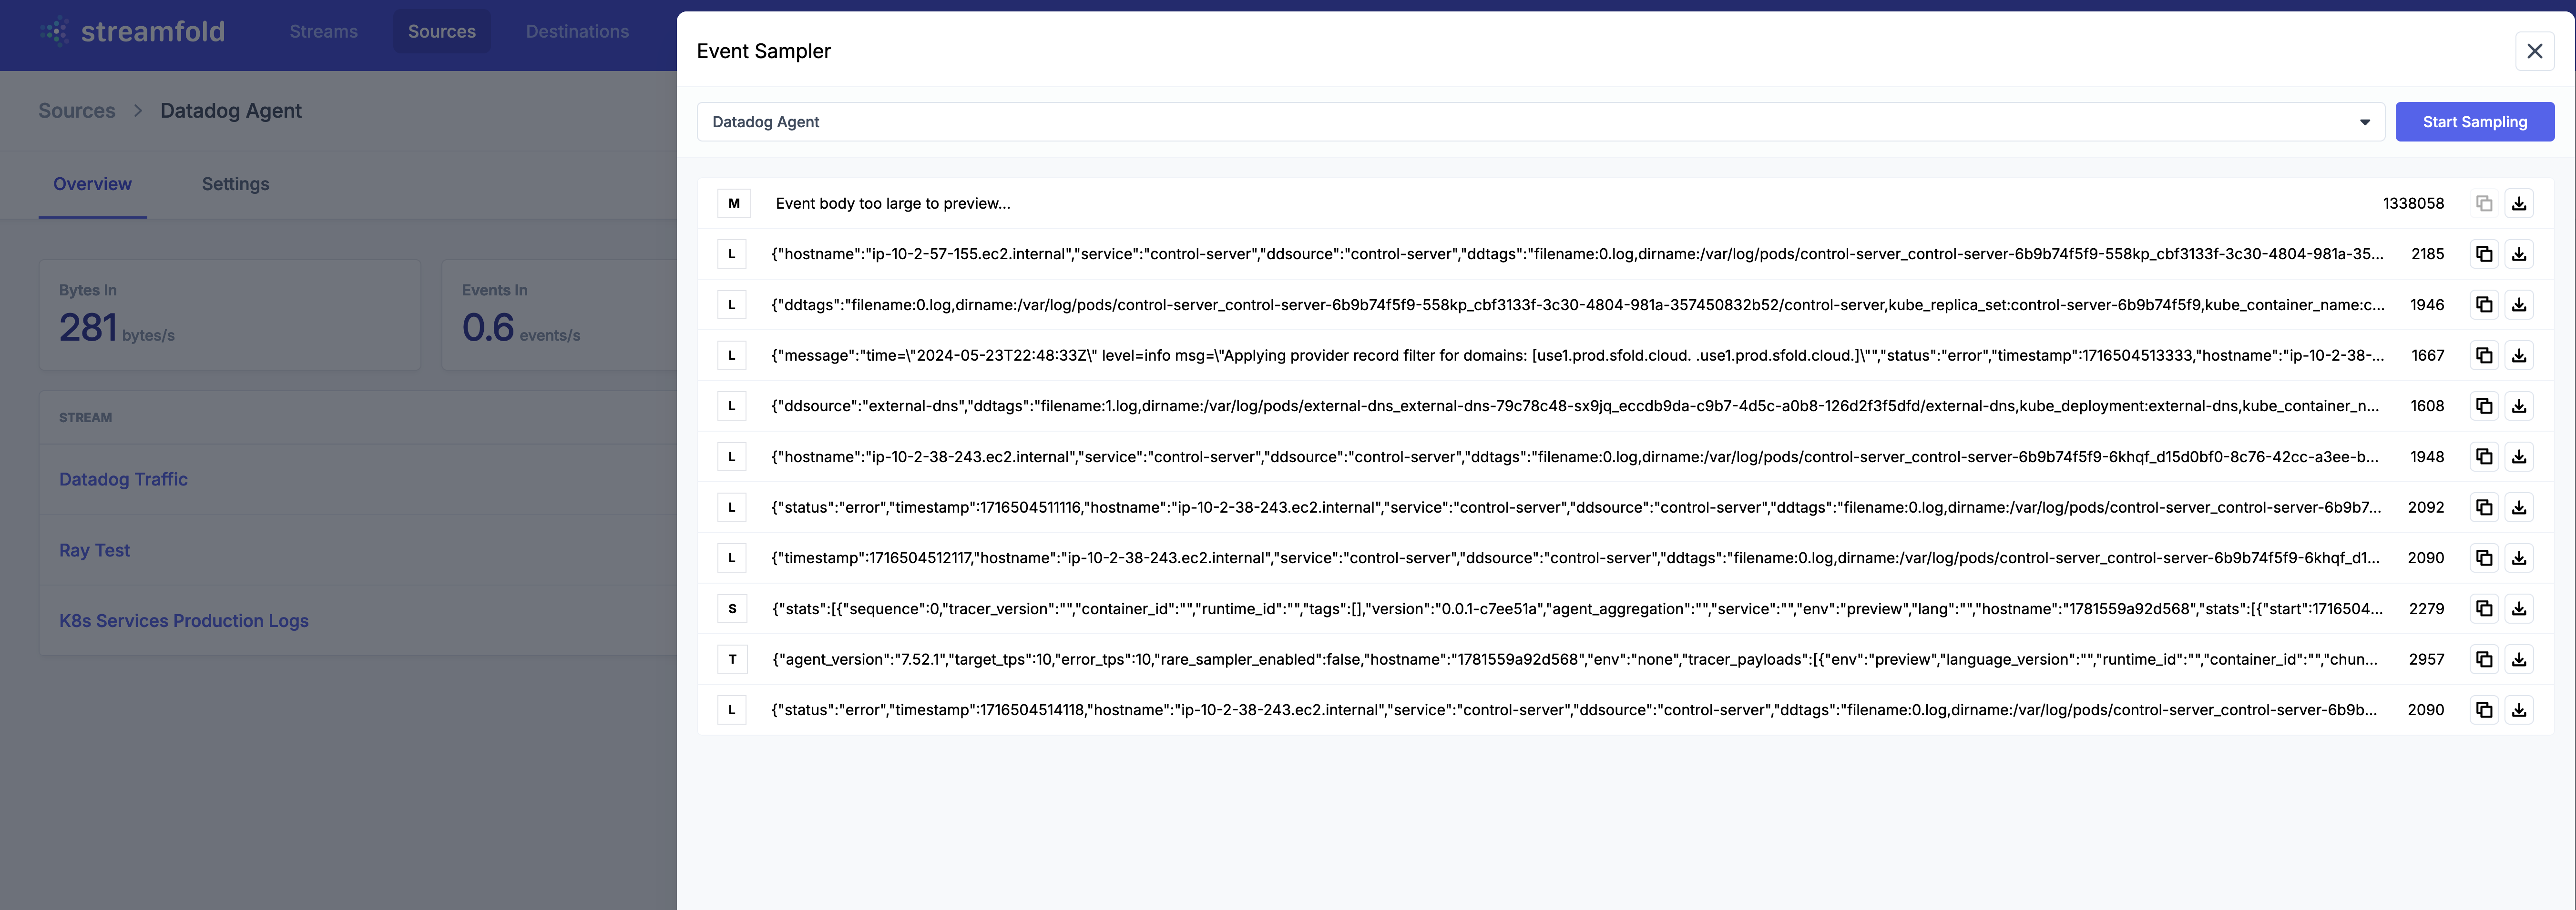
Creating your S3 Destination in Streamfold.
First you'll need to ensure you have an S3 bucket created. In this tutorial we'll use Terraform to create our bucket, but you can also do it directly from the AWS Console
Below is a snippet to create a simple private S3 bucket named datadog-logs with Terraform. Full instructions for using the Terraform aws_s3_bucket resource can be found here.
resource "aws_s3_bucket" "datadog-logs" {
  bucket = "datadog-logs"
  tags = {
    Name        = "Datadog Logs Bucket"
    Environment = "Dev"
  }
}
Now navigate to Streamfold Destinations and add a new S3 Destination. You'll need to create a policy and a role to allow Streamfold to write to your bucket. Streamfold provides instructions on how to create your AWS Role and Policy via the AWS Console in add a new S3 Destination, but for this guide we'll keep using Terraform.
Below is a snippet of Terraform to create the policy and role to allow Streamfold to write to the datadog-logs S3 bucket we created above.
resource "aws_iam_role" "datadog-logs" {
  name = "datadog-logs"
  assume_role_policy = jsonencode({
    Version = "2012-10-17"
    Statement = [
      {
        Action = "sts:AssumeRole"
        Effect = "Allow"
        "Principal": {
          "AWS": "953722167141"
        },
      }
    ]
  })
}

resource "aws_iam_role_policy" "datadog-logs" {
  name   = "datadog-logs"
  role   = aws_iam_role.datadog-logs.name
  policy = data.aws_iam_policy_document.datadog-logs.json
}

data "aws_iam_policy_document" "datadog-logs" {
  statement {
    effect = "Allow"
    actions = [
      "s3:GetBucketLocation",
      "s3:ListBucket",
      "s3:PutObject"
    ]
    resources = [
      "arn:aws:s3:::datadog-logs/*",
      "arn:aws:s3:::datadog-logs"
    ]
  }
}
Now that the policy and role are created. Finish creating your Streamfold S3 Destination. We're going to call ours Datadog Logs
Create your Datadog Logs to S3 Stream
Next, navigate to Create New Stream and create a Stream to route your Datadog Logs to your new S3 bucket. 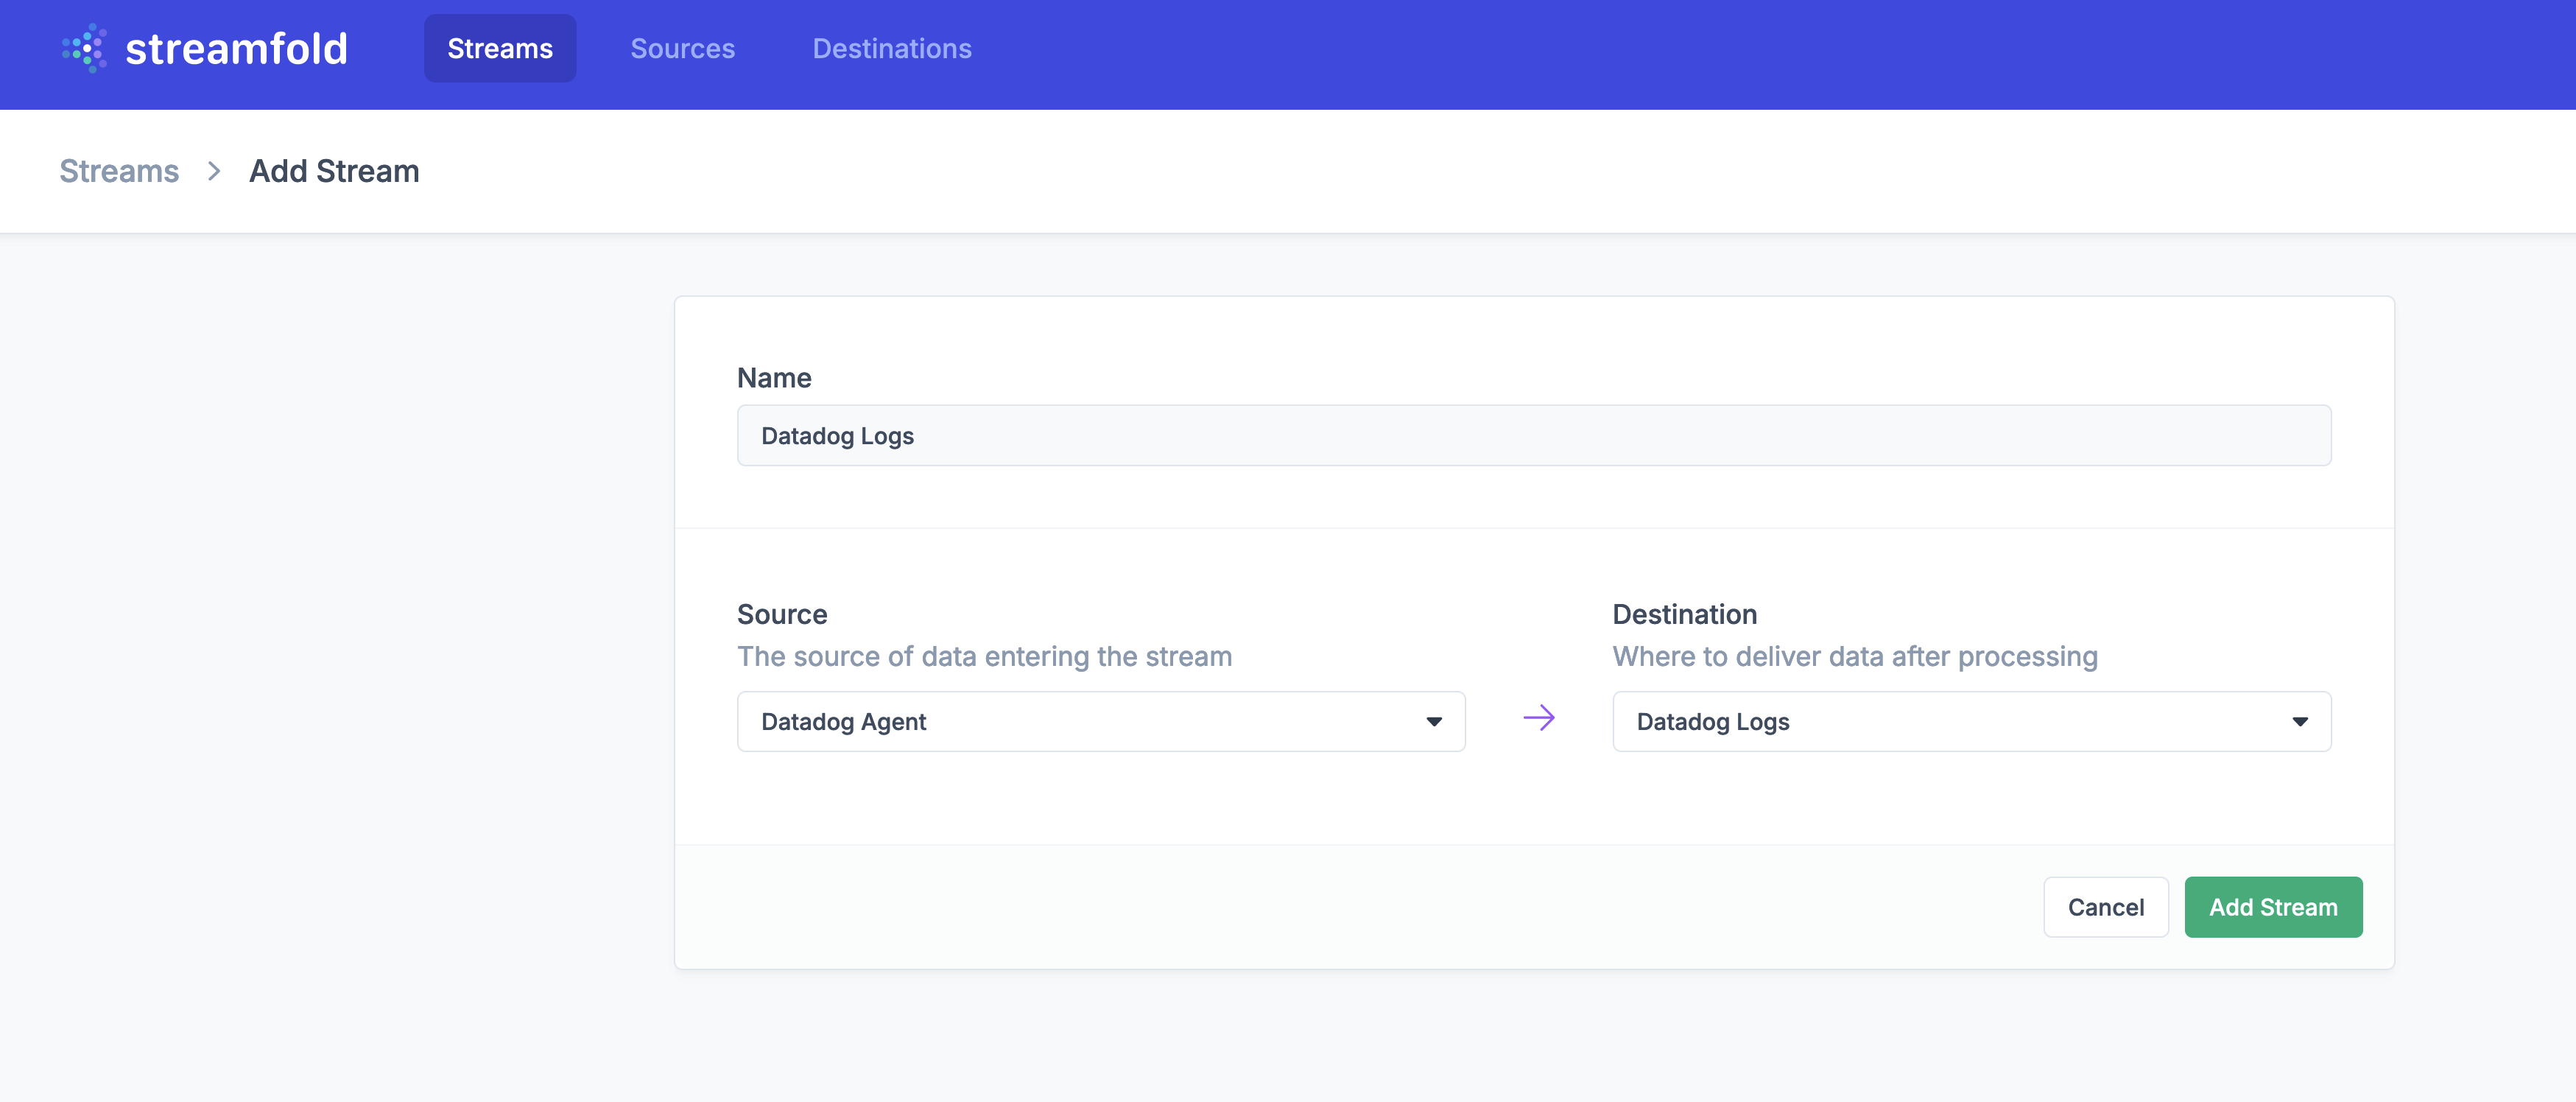
Lastly let's open our Stream and create a filter so that only Datadog Logs are written to our S3 Destination. Don't forget to enable Write to Destination when you're done.
- Enter
@datadog_resourcefor your field selector ==for your comparison operationslogsfor your equality value
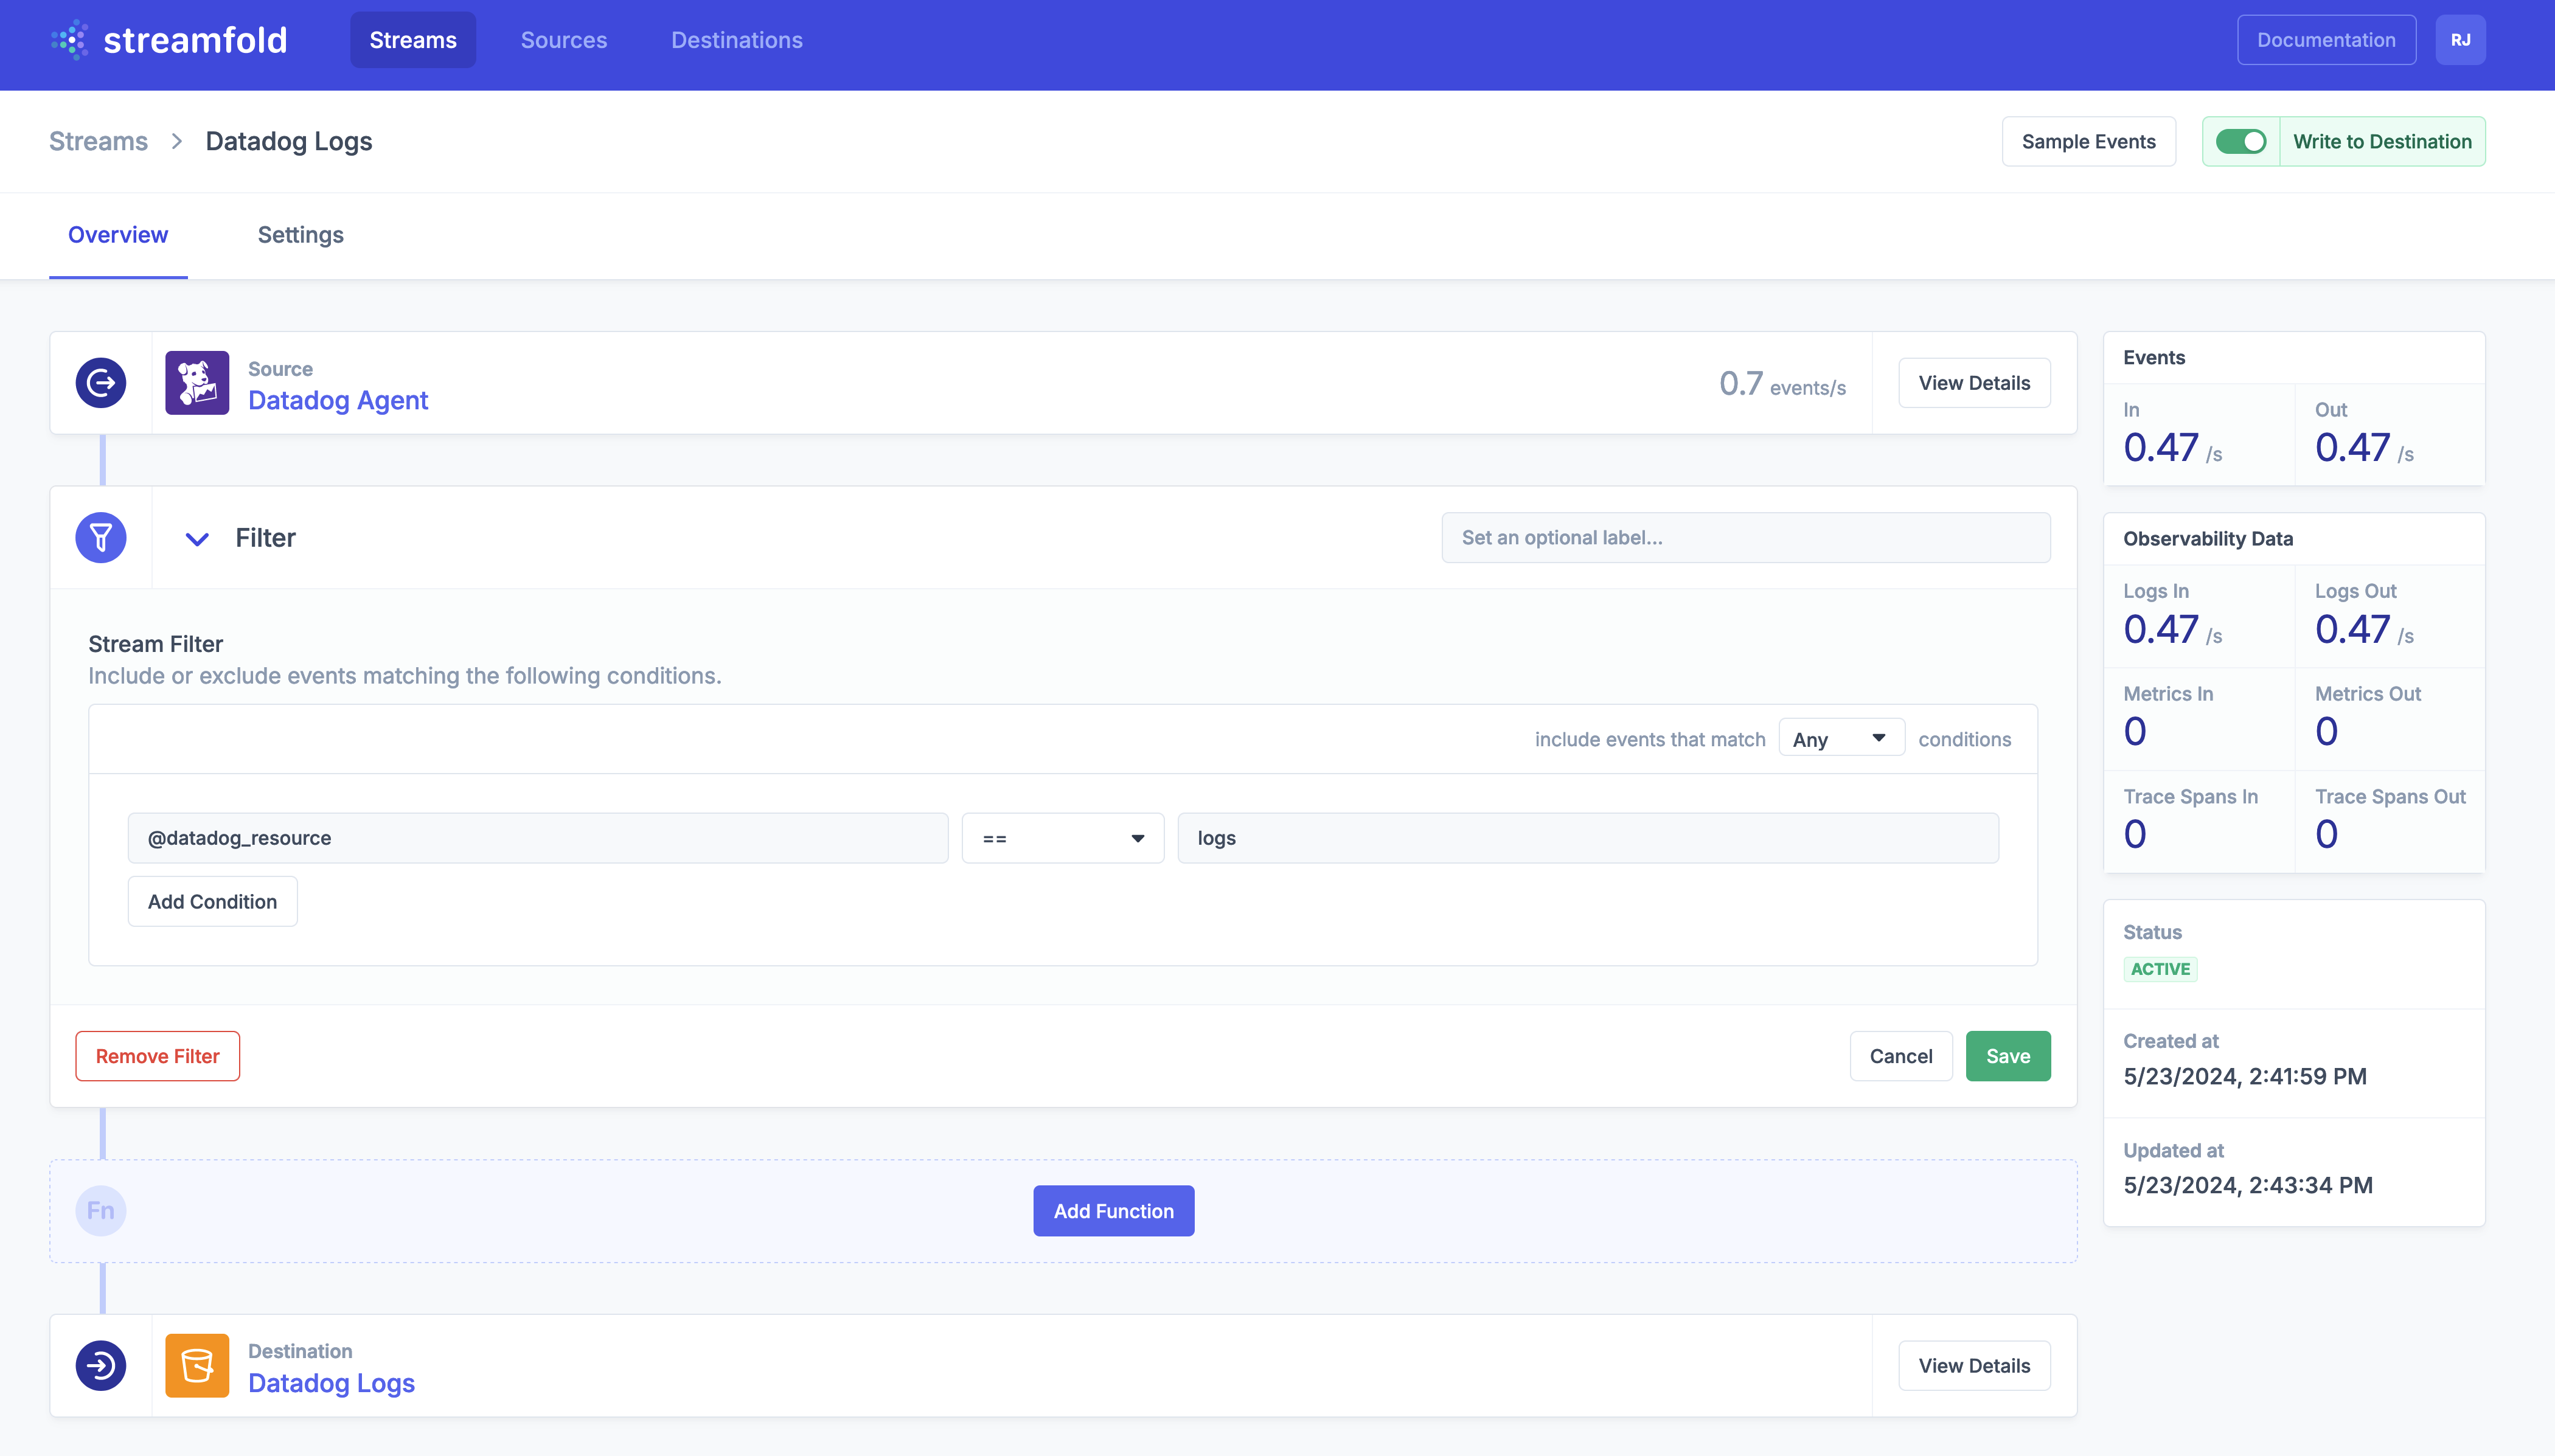
Enable Write to Destination
By default when you create a Stream writes are disabled, once you're ready to roll don't forget to enable Write to Destination
Verify your Logs are delivered to S3
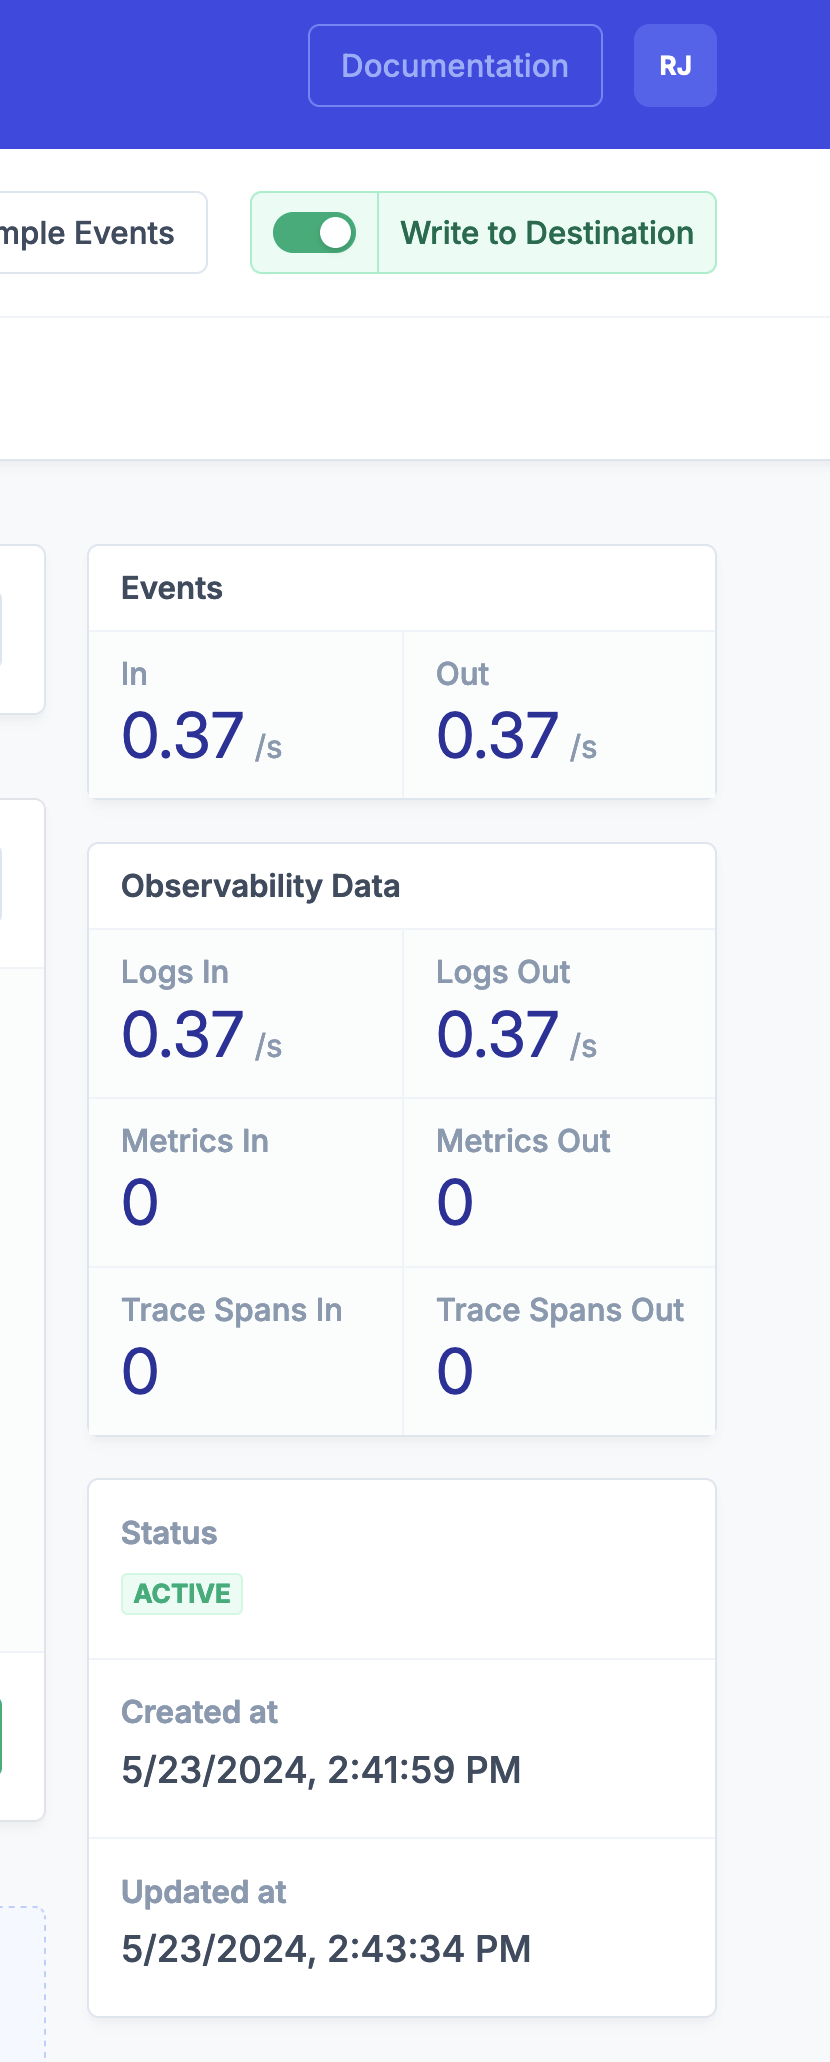
Now that you've enabled Write to Destination you should see metrics for Events In and Out, as well Observability Metrics for Logs In and Out on your stream. You can find them on the right hand side of your Stream detail view.
You can also sample events from your Stream's output using the Event Sampler. Now that you've applied your Stream filter you should only see outbound events with the type L for logs as we've filtered out all other event types from Datadog before sending to S3.

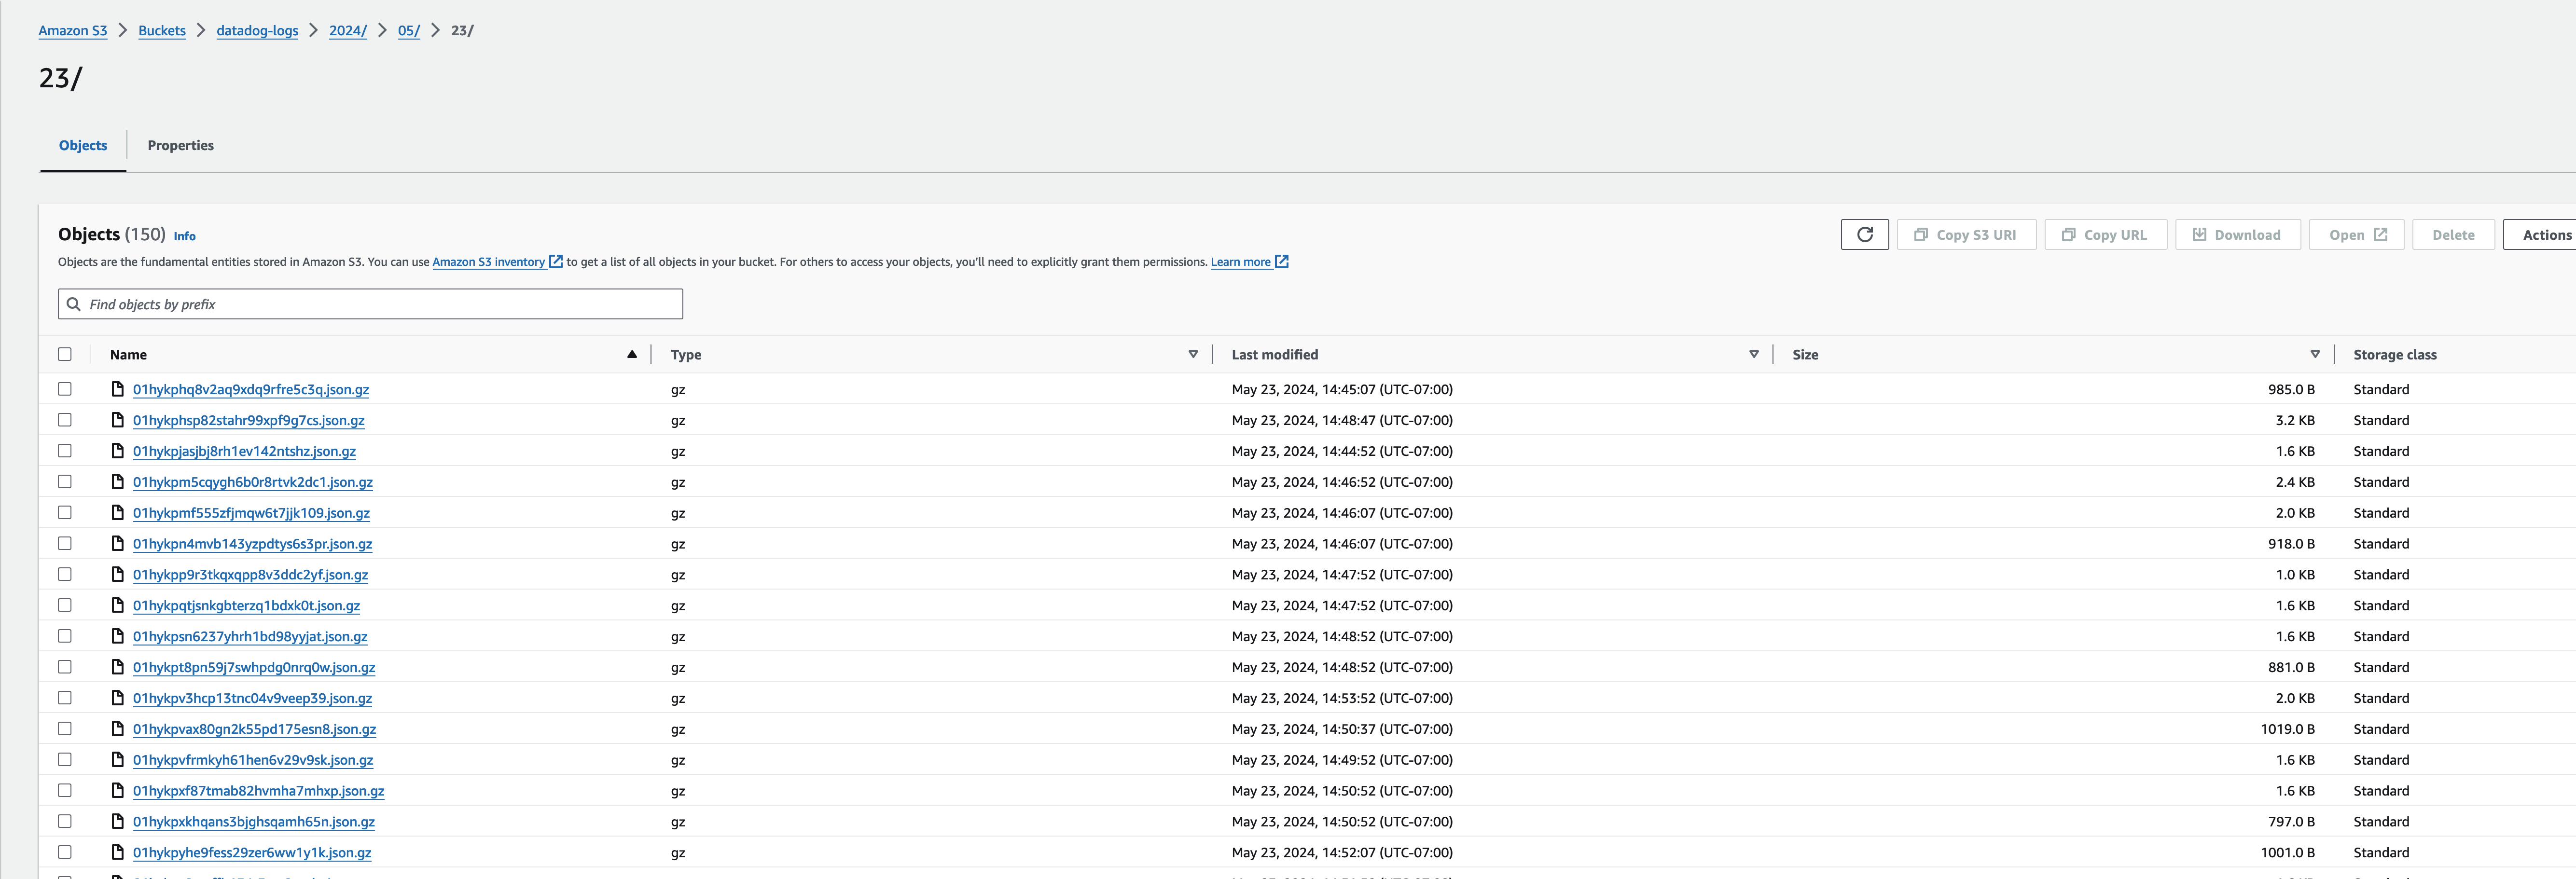
Finally, you should now also see your logs written to your S3 bucket in the AWS Console.
Next steps
Congratulations! Now that you've routed your logs you collected from the Datadog Agent to S3 you're well on your way to creating a telemetry data lake!
- Grok fields from logs lines to transform your logs before sending to S3.
- Set up a Clickhouse Cloud Integration to query your Datadog Logs from Clickhouse
- Query your logs with AWS Athena or ingest them into Snowflake